How to Install
Our products are designed for easy installation, whether you’re a skilled DIY enthusiast or hiring a handyman. Check out our instructional videos for detailed, step-by-step guidance.
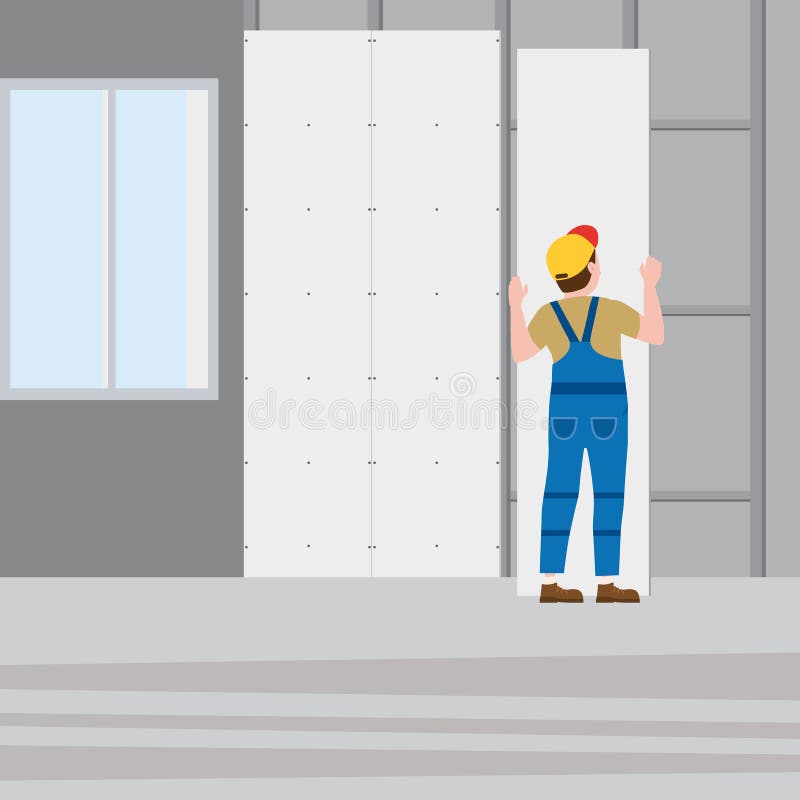
Step-by-Step Installation
Prepare the Wall
Before you begin, ensure that the wall is stable, smooth, and level. This will help achieve a flawless finish once the panels are installed.
Plan Your Layout
Measure your wall carefully and use a pencil and laser or spirit level to mark the guidelines. This ensures precise positioning of the panels for a clean and professional look.
Install Support Frame
If you’re using the panels as room dividers or decorative screens, begin by installing a sturdy support frame. This will provide structural integrity and ensure your installation lasts.
Joining the Panels
When joining two panels, use biscuit joints to ensure a secure and seamless connection. This technique allows for strong, invisible joints.
Attach the Panels to the Wall
Apply cartridge construction glue to the back of each panel. Secure the panels to the wall by screwing them in place. Use 2 mm packers to create even gaps between the panels. Fill the screw holes and joints with a two-pack wood filler, then smooth over with a normal filler. Once dry, sand the surface for a smooth finish.
